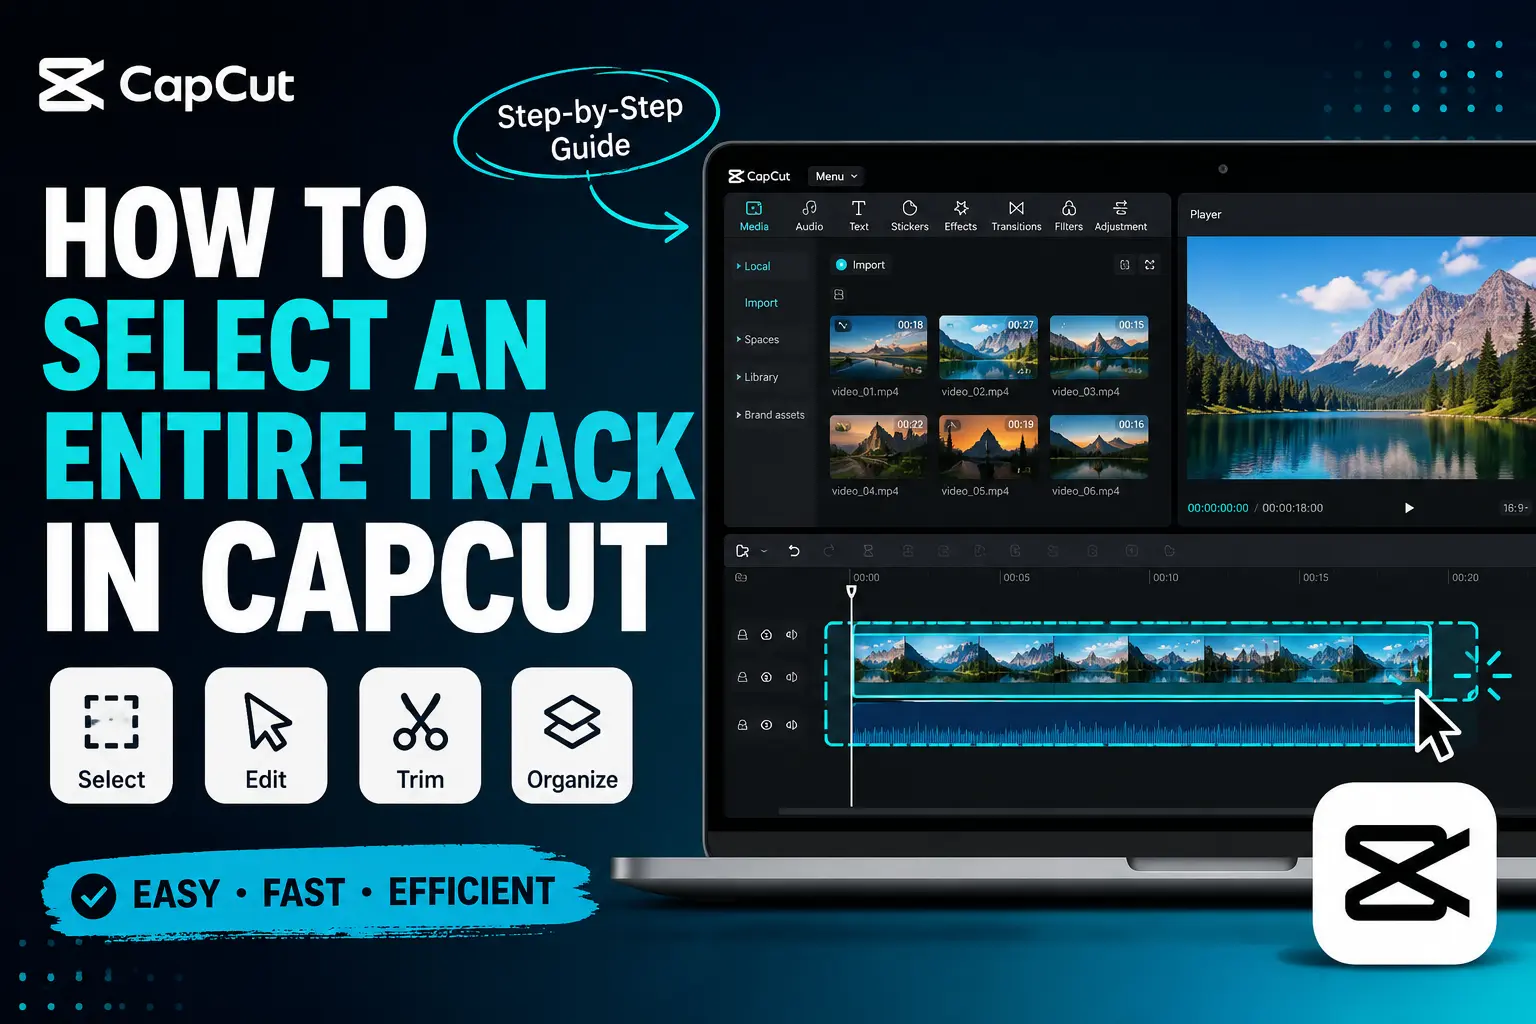
Selecting an entire track in CapCut involves choosing all the clips on the same timeline track so you can move, copy, trim, delete, or edit them together, making video editing faster and more organized.
🎞️ What Does Selecting an Entire Track in CapCut Mean?
Selecting an entire track in CapCut means highlighting all the clips, audio, or elements within a single timeline track so you can move, edit, copy, delete, or organize them together. This saves time and helps maintain the alignment of your project during editing.
🎬 What Is a Track in CapCut?
A track is a horizontal layer on the CapCut timeline that contains media such as videos, images, audio, text, stickers, or effects. Each track keeps related elements organized, making complex editing projects easier to manage.
🎥 Why Would You Select an Entire Track?
Selecting an entire track lets you edit multiple clips at once instead of making changes individually. It’s useful for moving content, applying edits, adjusting timing, or reorganizing your timeline while keeping all related elements together.
📂 When Is Selecting a Full Track Useful?
Selecting a full track is especially helpful when rearranging scenes, syncing audio with video, duplicating content, removing multiple clips, or managing large editing projects. It improves workflow efficiency and reduces the chance of accidentally editing individual clips separately.
📱 Can You Select an Entire Track in CapCut?
Selecting an entire track in CapCut can make editing faster by allowing you to manage multiple clips on the same timeline more efficiently. However, the available selection tools vary between the desktop, mobile, and online versions of CapCut, so it’s helpful to understand what each platform supports.
✅ Does CapCut Support Full Track Selection?
CapCut does not include a universal “Select Entire Track” button. Instead, you can select multiple clips on the same track using the available editing tools, making it easier to move, copy, delete, or edit them together without selecting each clip individually.
💻 Differences Between Mobile, Desktop, and Online
The selection process depends on the version of CapCut you use.
- CapCut Desktop offers more precise timeline controls and supports selecting multiple clips more efficiently.
- CapCut Mobile allows you to select and edit clips through touch gestures, although editing options are more limited.
- CapCut Online provides basic multi clip editing features, but available tools may vary depending on updates and browser compatibility.
⚠️ Current Limitations You Should Know
Although CapCut makes timeline editing simple, there are a few limitations when working with entire tracks.
| Limitation | Description |
|---|---|
| No one click track selection | CapCut does not provide a dedicated button to select an entire track. |
| Platform differences | Selection tools and editing options vary across desktop, mobile, and online versions. |
| Large projects require manual selection | Projects with many clips may require selecting multiple items individually. |
| Feature updates | Editing tools may change as CapCut releases new updates. |
Understanding these differences helps you choose the most efficient method for selecting and editing multiple clips before learning the step by step process for each version of CapCut.
🚀 How to Select an Entire Track in CapCut
Selecting an entire track in CapCut helps you edit multiple clips more efficiently without making changes one by one. Whether you want to move, copy, delete, duplicate, or organize a track, following the correct steps keeps your timeline organized and saves valuable editing time.
📂 Open Your Project
Launch CapCut and open the project containing the track you want to edit. Wait for all media files to load completely to ensure smooth timeline navigation and accurate selection.
🎞️ Locate the Track on the Timeline
Scroll through the timeline and identify the video, audio, text, or overlay track you want to work with. If your project contains many layers, zoom in on the timeline to distinguish clips more easily.
👆 Select All Clips in the Track
Select the clips that belong to the same track using the available selection tools on your version of CapCut. Verify that every clip you want to edit is included before making any changes to avoid affecting unrelated media.
✂️ Edit or Move the Selected Track
After selecting the track, you can move, trim, copy, duplicate, delete, or reposition the selected clips together. Editing multiple clips at once keeps their timing and alignment consistent throughout your project.
💾 Save Your Changes
Once you’ve finished editing, preview your project to ensure everything remains synchronized. Save your changes before continuing with additional edits or exporting the final video.
📊 Steps to Select an Entire Track in CapCut
The table below summarizes the basic workflow for selecting and editing an entire track.
| Step | Action | Purpose |
|---|---|---|
| 1 | Open your CapCut project | Access the timeline for editing. |
| 2 | Locate the desired track | Identify the clips you want to edit. |
| 3 | Select all clips in the track | Prepare multiple clips for editing together. |
| 4 | Edit or move the selected track | Apply changes while maintaining clip alignment. |
| 5 | Save and review the project | Confirm your edits before continuing or exporting. |
Following these steps allows you to select and manage an entire track more efficiently, making it easier to organize complex projects and streamline your editing workflow in CapCut.
💻 How to Select an Entire Track in CapCut Desktop
CapCut Desktop provides a larger editing workspace and more precise timeline controls, making it easier to select and manage multiple clips on the same track. While there isn’t a dedicated “Select Entire Track” button, you can efficiently select all relevant clips and edit them together.
🖥️ Open CapCut Desktop
Launch CapCut Desktop and open the project you want to edit. If you’re starting a new project, import your media files and arrange them on the timeline before selecting the track.
⌨️ Use Mouse or Keyboard Shortcuts
Locate the track you want to edit and select the clips using your mouse or supported keyboard shortcuts, depending on your operating system. This allows you to highlight multiple clips on the same track for faster editing and better timeline management.
🎯 Edit the Selected Track
After selecting the clips, you can move, copy, duplicate, trim, delete, or reposition the entire selection while maintaining the arrangement of your timeline. Preview the project after editing to ensure all clips remain synchronized.
📊 CapCut Desktop Track Selection Process
The table below outlines the basic workflow for selecting an entire track in CapCut Desktop.
| Step | Action | Purpose |
|---|---|---|
| Open CapCut Desktop | Launch the editor and open your project. | Access the timeline for editing. |
| Locate the desired track | Find the track containing the clips. | Identify the content to edit. |
| Select multiple clips | Use the mouse or supported shortcuts. | Highlight all clips you want to edit. |
| Edit the selected track | Move, trim, copy, or delete the selection. | Apply changes to multiple clips at once. |
| Review and save | Preview the timeline and save the project. | Confirm the edits before continuing. |
Using CapCut Desktop makes it easier to manage large editing projects, helping you edit multiple clips efficiently while keeping your timeline organized and your workflow smooth.
📱 How to Select an Entire Track in CapCut Mobile
The CapCut mobile app lets you manage multiple clips directly from your smartphone, making it easy to organize and edit your timeline. Although there isn’t a dedicated “Select Entire Track” feature, you can select multiple clips on the same track to edit them together more efficiently.
📂 Open the Mobile Project
Launch the CapCut app on your Android or iPhone and open the project containing the track you want to edit. If necessary, import your media and arrange it on the timeline before making any changes.
👆 Select Multiple Clips
Locate the track you want to edit and tap the clips you need to include in the selection. Ensure every clip on the track is selected before applying edits, especially when working with longer or more complex projects.
✂️ Move or Edit the Track
Once the clips are selected, you can move, trim, copy, duplicate, or delete them together. Editing multiple clips at the same time helps maintain their timing and improves your overall editing workflow.
📊 CapCut Mobile Track Selection Steps
The table below summarizes the process of selecting and editing a track in the CapCut mobile app.
| Step | Action | Purpose |
|---|---|---|
| Open CapCut | Launch the app and open your project. | Access the timeline for editing. |
| Locate the track | Find the video or audio track you want to edit. | Identify the clips to manage. |
| Select multiple clips | Tap the required clips on the timeline. | Prepare them for group editing. |
| Edit or move the selection | Apply edits to all selected clips. | Save time and keep clips aligned. |
| Save the project | Review and save your changes. | Preserve your updated timeline. |
💡 Tips for Faster Editing on Mobile
A few simple habits can make timeline editing easier on the CapCut mobile app.
- Zoom in on the timeline for more precise clip selection.
- Organize related clips on the same track before editing.
- Review the selected clips before applying changes.
- Save your project regularly to avoid losing recent edits.
- Preview the timeline after editing to ensure everything remains synchronized.
Using these techniques helps you select and edit multiple clips more efficiently, making the CapCut mobile app a practical tool for creating and managing professional quality video projects.
🌐 How to Select an Entire Track in CapCut Online
The CapCut Online Editor allows you to edit videos directly in your browser without installing any software. While it doesn’t include a dedicated “Select Entire Track” feature, you can select multiple clips on the same timeline and edit them together for a faster and more organized workflow.
💻 Access the Online Editor
Open the CapCut Online Editor in your web browser and sign in to your account if required. Open an existing project or create a new one, then upload your media files and arrange them on the timeline.
🎞️ Select the Desired Track
Locate the track containing the clips you want to edit. Select all the clips on that track using the available selection tools, making sure every required clip is included before applying any edits.
⚡ Apply Changes to the Selection
After selecting the clips, you can move, trim, duplicate, copy, delete, or rearrange them together. Preview the timeline after making changes to confirm that the clips remain properly aligned and synchronized.
📊 CapCut Online Track Selection Process
The table below summarizes the basic steps for selecting and editing a track in CapCut Online.
| Step | Action | Purpose |
|---|---|---|
| Open CapCut Online | Launch the browser editor and open your project. | Access the editing workspace. |
| Locate the desired track | Find the track you want to edit. | Identify the clips to manage. |
| Select all required clips | Highlight the clips on the track. | Prepare them for group editing. |
| Apply your edits | Move, trim, copy, or delete the selection. | Edit multiple clips at once. |
| Preview and save | Review the timeline and save your changes. | Ensure the project is updated correctly. |
💡 Tips for Efficient Online Editing
These simple practices can improve your editing experience in CapCut Online.
- Keep related clips on the same track for easier management.
- Zoom in on the timeline for more accurate clip selection.
- Verify your selection before making major edits.
- Save your project regularly while editing.
- Preview the final timeline to ensure all clips remain synchronized.
Using CapCut Online makes it easy to select and edit multiple clips efficiently, helping you organize your timeline and complete video projects more quickly from any compatible web browser.
⚖️ CapCut Desktop vs Mobile vs Online: Which Version Is Best for Track Selection?
Each version of CapCut offers a different editing experience when selecting and managing tracks. The desktop version provides the most advanced timeline controls, while the mobile app focuses on convenience, and the online editor is ideal for quick browser based edits. Choosing the right version depends on your editing needs and the complexity of your project.
💻 CapCut Desktop
CapCut Desktop is the best choice for users working on large or professional video projects. Its larger workspace and precise timeline controls make selecting and editing multiple clips much easier.
Best for:
- Professional video editing
- Large projects with multiple tracks
- Precise timeline adjustments
- Faster keyboard and mouse editing
📱 CapCut Mobile
The CapCut mobile app is designed for editing on the go. It offers a simple interface that allows you to manage clips quickly using touch controls, although it has fewer advanced selection features than the desktop version.
Best for:
- Quick social media videos
- Editing from a smartphone or tablet
- Basic timeline management
- Short form content creation
🌐 CapCut Online
CapCut Online lets you edit projects directly in a web browser without downloading software. It is suitable for light editing tasks and provides convenient access from different devices with an internet connection.
Best for:
- Browser based editing
- Working on shared or public computers
- Simple video projects
- Quick edits without installation
📊 CapCut Version Comparison
The table below compares the three CapCut versions for selecting and managing tracks.
| Feature | CapCut Desktop | CapCut Mobile | CapCut Online |
|---|---|---|---|
| Ease of track selection | Excellent | Good | Good |
| Timeline precision | Excellent | Moderate | Good |
| Keyboard shortcut support | Yes | No | Limited |
| Touch controls | No | Yes | Depends on device |
| Best for large projects | Yes | Limited | Moderate |
| Software installation required | Yes | Yes | No |
✅ Which Version Should You Choose?
If you frequently edit complex timelines, CapCut Desktop provides the most efficient workflow and the greatest control over track selection. For quick edits and social media content, CapCut Mobile is convenient and easy to use. If you prefer editing without installing software, CapCut Online offers a flexible solution for basic and intermediate projects from any compatible web browser.
⌨️ Keyboard Shortcuts for Selecting Multiple Clips in CapCut Desktop
Using keyboard shortcuts in CapCut Desktop can significantly speed up your editing workflow. Instead of selecting clips one by one, you can use shortcut keys to highlight multiple clips, making it easier to move, copy, duplicate, or delete them while keeping your timeline organized.
🖱️ Select Multiple Clips with the Mouse
The quickest way to select several clips is by combining your mouse with keyboard keys. Click the first clip, then continue selecting additional clips until every item you want to edit is highlighted.
This method is useful when the clips are not positioned next to each other on the timeline.
⌨️ Common Keyboard Shortcuts
Although available shortcuts may vary depending on your operating system and CapCut version, the following shortcuts are commonly used during timeline editing.
| Shortcut | Function |
|---|---|
| Ctrl + A (Windows) / Cmd + A (Mac) | Select all editable items in the current project or timeline, when supported. |
| Ctrl + C / Cmd + C | Copy the selected clips. |
| Ctrl + V / Cmd + V | Paste copied clips. |
| Delete | Remove the selected clips from the timeline. |
| Ctrl + Z / Cmd + Z | Undo the last action. |
| Ctrl + Shift + Z / Cmd + Shift + Z | Redo the last undone action. |
🎬 Edit All Selected Clips Together
After selecting multiple clips, you can perform several actions without editing each clip individually. This helps maintain the spacing and sequence of your timeline.
You can:
- Move all selected clips to another position.
- Copy and duplicate multiple clips.
- Delete several clips at once.
- Apply transitions or adjustments where supported.
- Rearrange the timeline more efficiently.
💡 Tips for Faster Timeline Editing
Following a few best practices can make selecting multiple clips easier and reduce editing mistakes.
- Zoom in on the timeline before selecting small clips.
- Save your project before making major timeline changes.
- Double check your selection before deleting or moving clips.
- Learn the most frequently used keyboard shortcuts to improve editing speed.
- Preview the timeline after editing to confirm that everything remains synchronized.
Mastering these CapCut keyboard shortcuts helps you select and edit multiple clips faster, improving productivity and making it easier to manage both simple and complex video editing projects.
❌ Common Problems When Selecting an Entire Track in CapCut
Selecting an entire track in CapCut is usually straightforward, but you may occasionally encounter issues that interrupt your editing workflow. Understanding these common problems and their solutions can help you edit more efficiently and avoid unnecessary delays.
🚫 Can’t Select All Clips on the Track
Sometimes only one clip is selected instead of every clip on the track. This often happens when clips are spread across different tracks or when the timeline is not fully visible.
Solution: Make sure all related clips are on the same track, zoom in or out to view the entire timeline, and carefully select each clip included in the track before editing.
⚠️ Some Clips Are Missing from the Selection
If a few clips remain unselected, any edits you make may affect only part of the track, causing your timeline to become misaligned.
Solution: Scroll through the entire timeline and verify that every required clip is highlighted before moving, copying, or deleting the selection.
🐢 CapCut Becomes Slow or Freezes
Large projects with high resolution videos, multiple effects, or many timeline layers can reduce editing performance and make selecting clips more difficult.
Solution: Save your project, close unnecessary applications, and allow CapCut enough system resources before continuing your edits.
🔄 Keyboard Shortcuts Are Not Working
On CapCut Desktop, keyboard shortcuts may stop responding because of incorrect focus, software settings, or operating system conflicts.
Solution: Click anywhere on the timeline to make it active, verify that you’re using the correct shortcut for your operating system, and restart CapCut if the issue continues.
🌐 Features Differ Between CapCut Versions
The desktop, mobile, and online versions of CapCut do not always include the same editing tools. A feature available on one platform may be unavailable or work differently on another.
Solution: Check which version of CapCut you’re using and follow the instructions designed specifically for that platform.
📊 Common Issues and Solutions
The table below summarizes the most common problems when selecting an entire track in CapCut.
| Problem | Possible Cause | Solution |
|---|---|---|
| Only one clip is selected | Clips are on different tracks or selected individually | Place related clips on the same track and select them together. |
| Missing clips in the selection | Part of the timeline was overlooked | Review the timeline and confirm all clips are highlighted. |
| Slow performance | Large project or limited system resources | Save the project, close background programs, and reopen CapCut if needed. |
| Keyboard shortcuts don’t respond | Timeline isn’t active or shortcut conflict | Click the timeline, verify the shortcut, and restart the application. |
| Different features across platforms | Desktop, mobile, and online versions vary | Use the instructions that match your version of CapCut. |
Knowing how to troubleshoot these issues helps you select and edit multiple clips with confidence, ensuring a smoother and more productive editing experience in CapCut.
💡 Tips for Selecting and Managing Tracks More Efficiently in CapCut
Learning a few simple editing techniques can make it much easier to select an entire track in CapCut and manage complex projects. These best practices help improve accuracy, reduce editing mistakes, and save time whether you’re using CapCut Desktop, Mobile, or Online.
📂 Keep Related Clips on the Same Track
Organize clips that belong together on a single track whenever possible. This makes it easier to select, move, and edit multiple clips without affecting other parts of your timeline.
🔍 Zoom In for Better Precision
Use the timeline zoom controls before selecting clips. A closer view makes it easier to select short clips accurately and prevents accidental edits to nearby media.
💾 Save Your Project Frequently
Save your project after completing major edits. Regular saving protects your work and allows you to recover quickly if the application closes unexpectedly or your device restarts.
⌨️ Learn Essential Keyboard Shortcuts
If you use CapCut Desktop, memorizing common keyboard shortcuts can significantly improve your editing speed. Shortcuts help you select, copy, paste, undo, and delete clips without constantly using the mouse.
👀 Preview Before Applying Major Changes
Always preview your timeline before moving, deleting, or duplicating multiple clips. Reviewing the sequence helps ensure that transitions, audio synchronization, and clip timing remain correct.
🗂️ Label and Organize Large Projects
Projects with many video, audio, text, and overlay tracks become easier to manage when you keep your timeline organized. Arrange related elements logically to reduce confusion during editing.
📊 Best Practices for Track Management
The table below highlights simple habits that improve your editing workflow in CapCut.
| Best Practice | Benefit |
|---|---|
| Keep related clips on one track | Makes selection faster and more organized. |
| Zoom in on the timeline | Improves selection accuracy. |
| Save your project regularly | Prevents data loss during editing. |
| Use keyboard shortcuts | Speeds up common editing tasks on desktop. |
| Preview before editing | Reduces mistakes and keeps clips synchronized. |
| Organize large timelines | Makes complex projects easier to manage. |
Applying these best practices helps you select entire tracks more efficiently, maintain a well organized timeline, and create smoother, more professional video edits in CapCut.
🎯 Conclusion
Selecting an entire track in CapCut helps you edit multiple clips faster, keep your timeline organized, and improve your overall workflow. Although CapCut doesn’t offer a dedicated Select Entire Track button, you can efficiently manage clips using the available tools in the Desktop, Mobile, and Online versions. By understanding each platform’s features, using keyboard shortcuts where available, and following the best practices covered in this guide, you can create smoother, more professional video projects with less effort.
❓ Frequently Asked Questions About Selecting an Entire Track in CapCut
Many users have questions about selecting an entire track in CapCut, especially when using different versions of the editor. Here are quick, answers to the most common questions.
🤔 Can I Select an Entire Track with One Click in CapCut?
No, CapCut currently does not offer a dedicated one click Select Entire Track feature.
💻 Is It Easier to Select Tracks on CapCut Desktop?
Yes, CapCut Desktop provides better timeline controls and keyboard shortcuts for easier track selection.
📱 Can I Select Multiple Clips in the CapCut Mobile App?
Yes, you can select multiple clips in CapCut Mobile and edit them together.
🌐 Does CapCut Online Support Track Selection?
Yes, CapCut Online allows you to select and edit multiple clips on the timeline.
⌨️ Are Keyboard Shortcuts Available in CapCut?
Yes, CapCut Desktop supports keyboard shortcuts to speed up editing tasks.
🎬 Will Editing Multiple Clips Affect Video Quality?
No, editing multiple clips does not reduce video quality before export.
🔄 Can I Undo Changes After Editing a Track?
Yes, you can use the Undo feature to reverse recent edits.
📂 Why Can’t I Select Every Clip on My Track?
Some clips may be on different tracks or were not included in your selection.
These FAQs provide quick answers to help you select and manage entire tracks in CapCut more efficiently.