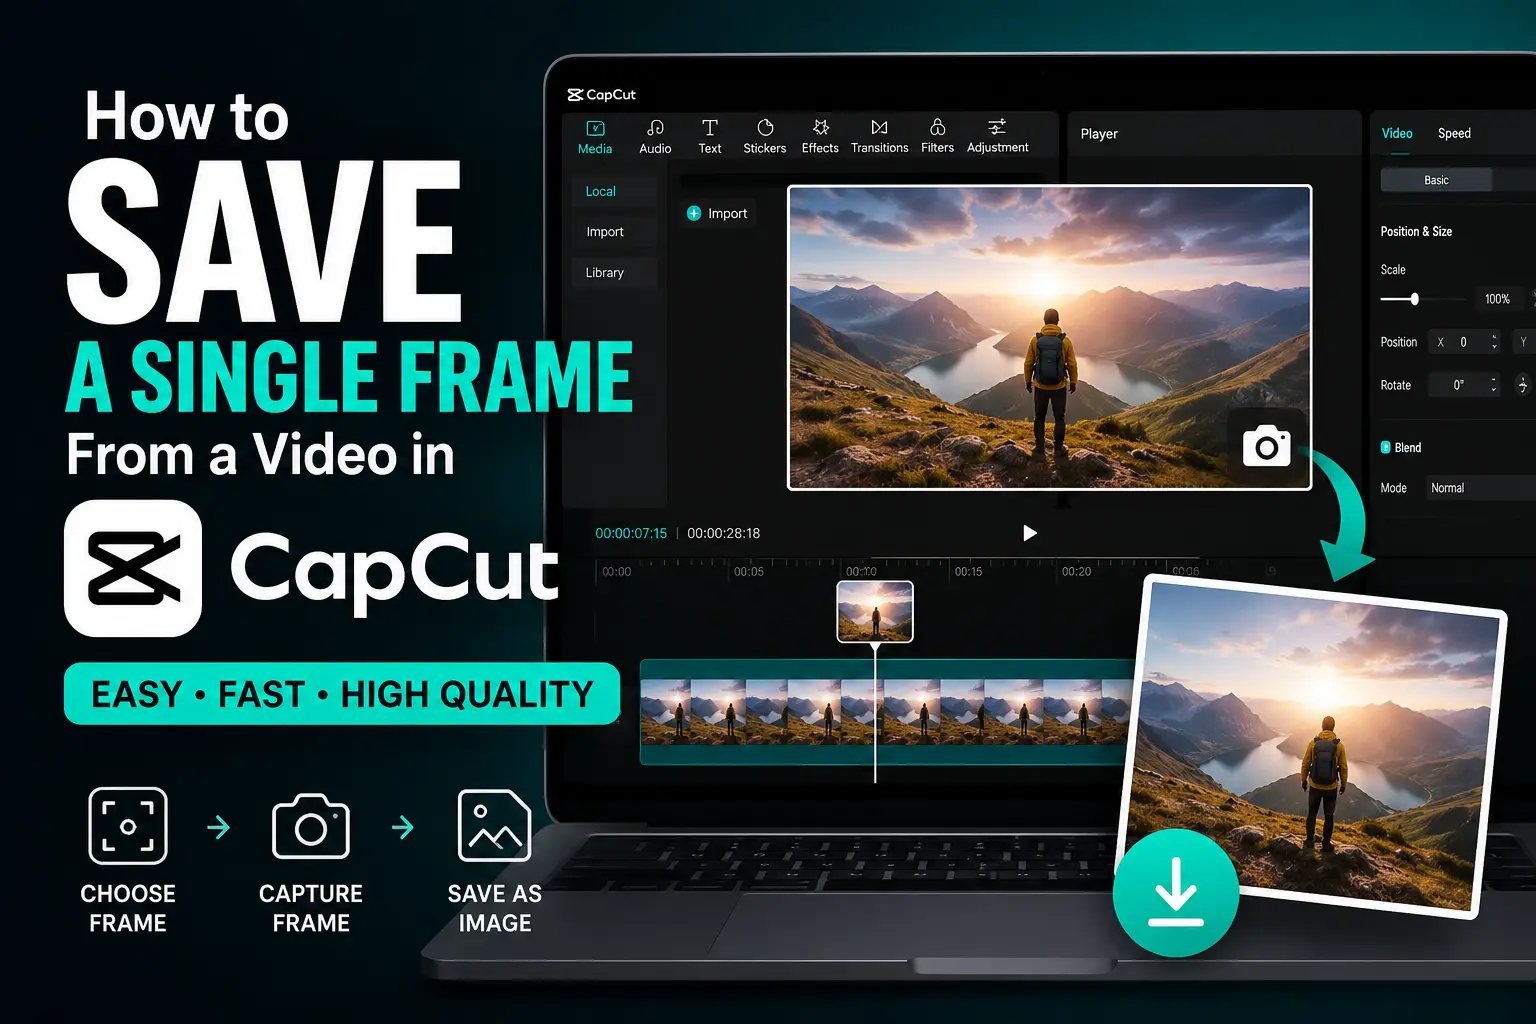
To save a single frame in CapCut, pause the video at the exact moment and capture the still image. Using a high resolution video helps you achieve the best image quality.
📷 What Does Saving a Single Frame in CapCut Mean?
Saving a single frame in CapCut means capturing one still image from a video at a specific moment. This allows you to use that frame as a photo, thumbnail, cover image, social media post, or graphic without exporting the entire video.
🖼️ What Is a Video Frame?
A video frame is a single still image within a video sequence. Every video consists of many frames played rapidly to create smooth motion, and each frame can be captured as a separate image.
🎞️ Why Would You Save a Single Frame?
Saving a frame is useful for creating YouTube thumbnails, Instagram posts, TikTok covers, blog images, presentation slides, and promotional graphics. It also helps preserve an important moment from a video in high visual quality.
📱 When Should You Use a Still Frame Instead of a Screenshot?
A saved frame is a better choice when you need a cleaner and higher quality image for editing or publishing. A screenshot may include device interface elements or reduce image quality, while a properly captured frame keeps the focus on the video content.
📱 Can You Save a Single Frame Directly in CapCut?
Many users want to know whether CapCut includes a built in option to save a single video frame as an image. The answer depends on the platform you use. While CapCut offers powerful video editing features, its frame saving capabilities vary between the mobile app, desktop software, and online editor.
✅ Does CapCut Have a Built in Frame Export Feature?
CapCut does not provide a dedicated “Export Frame” or “Save Frame as Image” button like some professional video editing programs. Instead, you can capture a still frame by pausing the video at the desired moment and using the available tools or your device’s capture method. On some versions, you may also create a freeze frame and export it as part of your editing workflow.
💻 Does It Work the Same on Mobile, Desktop, and Online?
No. The process differs depending on the version of CapCut you are using.
- CapCut Mobile allows you to pause the video at the exact frame and capture it using your device or editing workflow.
- CapCut Desktop provides a larger preview window and a more precise timeline, making it easier to select the exact frame.
- CapCut Online offers basic editing features, but available tools may vary based on updates and browser compatibility.
⚠️ Current Limitations of CapCut Frame Extraction
CapCut is designed primarily for video editing, not image extraction. Because of this, users may encounter a few limitations when saving individual frames.
| Limitation | Description |
|---|---|
| No dedicated frame export tool | Most versions do not include a one click option to save a frame as an image. |
| Platform differences | Available features can vary between mobile, desktop, and the online editor. |
| Image quality depends on the source | A low resolution video will produce a lower quality saved frame. |
| Feature updates | CapCut regularly updates its tools, so frame saving options may change over time. |
Understanding these differences helps you choose the most effective method for capturing a high quality still frame before moving on to the step by step instructions.
🚀 How to Save a Single Frame from a Video in CapCut
Capturing a single frame from a video in CapCut is a simple process once you know where to position the playhead and how to preserve image quality. Whether you’re creating a thumbnail, social media post, presentation, or promotional graphic, following the right steps helps you capture the exact moment you need.
📂 Import Your Video
Start by opening CapCut and creating a new project. Import the video that contains the frame you want to save. Wait until the video is fully loaded before editing to ensure smooth playback and accurate frame selection.
⏱️ Move to the Exact Frame
Drag the playhead along the timeline until you reach the moment you want to capture. Use the playback controls to pause the video on the precise frame. Taking a few extra seconds to position the playhead accurately helps you avoid capturing the wrong image.
🔍 Zoom the Timeline for Better Accuracy
If you’re working with a fast moving scene, zoom in on the timeline to navigate frame by frame more easily. A closer timeline view gives you better control when selecting facial expressions, action shots, or other important moments.
📸 Capture the Frame
Once the desired frame appears in the preview window, capture it using the method available on your device or the CapCut version you’re using. The goal is to save the frame exactly as it appears in the preview without changing its composition or timing.
💾 Save the Image in High Quality
After capturing the frame, save it in the highest available quality. A high resolution image is ideal for YouTube thumbnails, Instagram posts, TikTok covers, blog graphics, and marketing materials. Starting with a high quality source video also helps produce a sharper and more detailed still image.
📋 Step by Step Summary
The following table provides a quick overview of the process for saving a single frame in CapCut.
| Step | Action | Purpose |
|---|---|---|
| 1 | Import the video into CapCut | Access the video you want to edit. |
| 2 | Move the playhead to the desired frame | Select the exact moment to capture. |
| 3 | Zoom in on the timeline | Improve frame selection accuracy. |
| 4 | Capture the still frame | Create a single image from the video. |
| 5 | Save the image in the highest quality | Preserve clarity for sharing or editing. |
Following these steps makes it easier to capture a clear, high quality still frame from any video before exploring platform specific methods for CapCut Desktop, Mobile, or Online.
💻 How to Save a Frame in CapCut Desktop
CapCut Desktop offers a larger workspace and a more precise editing timeline, making it easier to capture the exact frame from a video. Although the desktop version does not include a dedicated “Save Frame” button, you can accurately select a still frame and save it using your computer’s available capture methods.
🖥️ Open the Desktop Editor
Launch CapCut Desktop and open an existing project or create a new one. Import your video into the media library, then drag it onto the timeline to begin editing. Make sure the video has finished loading for smooth navigation.
🎬 Find the Required Frame
Move the playhead along the timeline until the preview window displays the exact frame you want to save. For greater precision, zoom in on the timeline and move through the video frame by frame. This helps you capture sharp facial expressions, action scenes, or key visual moments without missing the perfect shot.
📷 Export or Capture the Frame
When the desired frame appears in the preview window, keep the video paused and capture the image using your computer’s preferred screen capture method. Ensure the preview window is displayed at the highest available quality and free from unnecessary editing panels or distractions. This helps produce a cleaner still image suitable for thumbnails, presentations, blogs, marketing materials, and social media graphics.
📋 CapCut Desktop Frame Saving Process
The table below summarizes the basic workflow for capturing a single frame in CapCut Desktop.
| Step | Action | Purpose |
|---|---|---|
| Open CapCut Desktop | Launch the editor and create or open a project. | Access your video for editing. |
| Import the video | Add the video to the timeline. | Prepare the clip for frame selection. |
| Locate the frame | Move the playhead to the exact moment. | Choose the desired still image. |
| Zoom the timeline | Adjust the timeline for frame level precision. | Improve selection accuracy. |
| Capture the frame | Save the displayed frame using your computer. | Create a high quality still image. |
Using the desktop version of CapCut gives you greater control over timeline navigation, making it easier to capture an accurate, high quality frame for both personal and professional projects.
📱 How to Save a Frame in CapCut Mobile
The CapCut mobile app makes it easy to locate and capture a single frame from your video. While the app does not include a dedicated frame export feature, you can accurately select the desired moment and save it using your device. This method works well for creating video thumbnails, social media graphics, profile images, and promotional content.
📂 Open the Video Project
Launch the CapCut app on your Android or iPhone and open the project containing the video. If you haven’t started editing yet, tap New Project, select your video, and add it to the timeline. Wait until the clip finishes loading to ensure smooth playback.
⏸️ Pause at the Correct Frame
Drag the playhead along the timeline until you reach the exact moment you want to save. For greater precision, move through the timeline slowly or frame by frame if available. Pause the video when the preview displays a sharp, clear image without motion blur.
📸 Save the Frame on Android or iPhone
Once the correct frame appears in the preview window, keep the video paused and save the image using your phone’s available capture method. For the best results, view the frame in full screen mode if possible and ensure editing controls or interface elements do not cover the image.
📊 CapCut Mobile Frame Saving Steps
The table below summarizes the process of saving a single frame using the CapCut mobile app.
| Step | Action | Purpose |
|---|---|---|
| Open CapCut | Launch the app and open your project. | Access the video you want to edit. |
| Import the video | Add the video if it is not already in the project. | Prepare the clip for editing. |
| Locate the frame | Move the playhead to the desired moment. | Select the exact still image. |
| Pause the video | Stop playback on the chosen frame. | Keep the image stable for capture. |
| Save the frame | Capture the displayed frame using your mobile device. | Create a high quality still image. |
🌐 How to Save a Frame in CapCut Online
The CapCut Online Editor lets you edit videos directly in your web browser without installing software. Although it doesn’t include a dedicated Save Frame feature, you can still capture a single frame by navigating to the exact moment in your video and using your computer’s available capture tools.
💻 Open the Browser Editor
Visit the CapCut Online Editor in your preferred web browser and sign in to your account if required. Create a new project or open an existing one, then upload your video if it isn’t already available. Once the video finishes loading, drag it onto the editing timeline.
🎯 Capture the Required Frame
Move the playhead along the timeline until the preview window displays the exact frame you want to save. For better precision, zoom in on the timeline and pause the video at the desired moment. A carefully selected frame produces a sharper image and reduces the chance of capturing unwanted motion blur.
⚡ Save the Image
When the correct frame is visible, keep the video paused and capture the image using your browser or operating system’s available screen capture method. If possible, maximize the preview window and hide unnecessary editing panels to create a cleaner, higher quality image suitable for thumbnails, blog posts, presentations, and social media content.
📊 CapCut Online Frame Saving Process
The table below provides a quick overview of the steps for saving a single frame in CapCut Online.
| Step | Action | Purpose |
|---|---|---|
| Open CapCut Online | Launch the browser based editor and sign in if needed. | Access your editing workspace. |
| Upload the video | Add your video to a new or existing project. | Prepare the video for editing. |
| Find the desired frame | Move the playhead to the exact moment. | Select the still image you want to save. |
| Pause the video | Stop playback on the chosen frame. | Keep the image stable for capture. |
| Save the frame | Capture the displayed frame using your computer. | Create a high quality still image. |
🖼️ Screenshot vs Saving a Frame in CapCut
Many users wonder whether taking a screenshot is the same as saving a frame from a video in CapCut. While both methods create a still image, they differ in image quality, editing flexibility, and intended use. Understanding these differences helps you choose the best option for your project.
📊 Key Differences
A screenshot captures everything displayed on your screen at a specific moment, including the video preview and, in some cases, interface elements. A saved frame, on the other hand, focuses only on the video content, making it more suitable for professional editing and publishing.
If you need a quick reference image, a screenshot may be sufficient. However, for YouTube thumbnails, blog graphics, marketing materials, or social media posts, capturing a clean frame generally produces a more polished result.
📋 Which Method Produces Better Image Quality?
The quality of the final image depends on several factors, including the original video resolution, the capture method, and the display settings. A carefully captured frame from a high resolution video usually preserves more visual detail than a standard screenshot, especially when used for professional or commercial content.
The table below compares both methods.
| Feature | Screenshot | Saved Frame |
|---|---|---|
| Image Quality | Depends on screen resolution and display settings. | Preserves more detail when captured from a high quality video. |
| Resolution | Limited by the device’s screen resolution. | Based primarily on the video’s original resolution. |
| Editing Flexibility | May include interface elements that require cropping. | Cleaner image with fewer distractions for further editing. |
| Best Use | Quick reference, personal use, or temporary sharing. | Thumbnails, presentations, blogs, marketing materials, and social media graphics. |
💡 Which Option Should You Choose?
Choose a screenshot when you need a fast image for personal reference or casual sharing. If your goal is to create professional quality visuals, such as YouTube thumbnails, website banners, Instagram posts, or promotional graphics, saving a clean frame from a high resolution video is the better option. It provides greater clarity, a more polished appearance, and more flexibility for future editing.
✨ How to Save a High Quality Frame Without Losing Image Quality
Capturing a high quality frame in CapCut requires more than simply pausing a video. The sharpness of the saved image depends on the original video resolution, frame selection, and capture method. By following a few best practices, you can preserve image clarity and create professional looking stills for any project.
📐 Choose the Right Resolution
Start with the highest resolution video available. A video recorded in 1080p, 2K, or 4K contains more detail than lower resolution footage, allowing you to capture sharper and more vibrant frames. If the original video quality is low, the saved image will also appear less detailed.
🔍 Avoid Blurry Frames
Pause the video at a moment with minimal motion blur. Fast moving scenes often produce blurred frames, making the image unsuitable for thumbnails or graphics. If necessary, move through the timeline frame by frame until you find the clearest shot with sharp details and balanced lighting.
🎨 Keep the Original Video Quality
Avoid compressing or resizing the video before capturing the frame. Editing or exporting a video at lower quality can reduce image sharpness. Whenever possible, capture the frame directly from the original project or the highest quality version of the video to preserve fine details and accurate colors.
📊 Best Practices for High Quality Frame Capture
The table below highlights the most effective ways to improve the quality of saved frames in CapCut.
| Practice | Benefit |
|---|---|
| Use a high resolution source video | Produces sharper and more detailed images. |
| Capture a frame with minimal motion | Reduces blur and improves clarity. |
| Zoom in on the timeline | Helps select the exact frame more accurately. |
| Keep the original video quality | Preserves color, sharpness, and fine details. |
| Review the image after capturing | Ensures the frame is clear before using it. |
🎯 Best Ways to Use Saved Frames
A saved frame from a CapCut video can be used for much more than keeping a memorable moment. High quality still images are valuable for content creation, marketing, education, and branding. Choosing the right use for your saved frame helps you maximize the value of your videos across multiple platforms.
🖼️ Video Thumbnails
One of the most common uses for a saved frame is creating an eye catching video thumbnail. A clear and expressive frame can attract more viewers on platforms like YouTube, Vimeo, and Facebook Video. Choose a frame with sharp focus, good lighting, and a subject that clearly represents the video’s content.
📱 Social Media Posts
Saved frames are ideal for sharing on Instagram, Facebook, X (formerly Twitter), LinkedIn, Pinterest, and TikTok. They can be used as promotional images, announcement graphics, story covers, or post previews to increase engagement without creating a separate design from scratch.
🎨 Graphic Design Projects
A high resolution frame can serve as the foundation for posters, banners, advertisements, website graphics, and promotional materials. Designers often enhance saved frames by adding text, logos, icons, or branding elements to create professional marketing assets.
📚 Presentations and Tutorials
Still frames help explain processes, highlight important moments, and make educational content easier to understand. They work well in PowerPoint presentations, online courses, training documents, blog tutorials, case studies, and instructional guides, where a single image communicates information more effectively than a lengthy explanation.
📊 Common Uses for Saved Frames
The table below shows some of the most popular ways creators use saved frames from CapCut.
| Use Case | Benefits |
|---|---|
| YouTube Thumbnails | Creates attractive cover images that encourage more clicks. |
| Social Media Posts | Reuse video content as engaging visual posts across platforms. |
| Blog Articles | Add relevant images that improve readability and user engagement. |
| Marketing Materials | Design banners, advertisements, and promotional graphics. |
| Presentations | Explain concepts visually with clear, high quality images. |
| Educational Content | Highlight key moments in tutorials and learning resources. |
❌ Common Problems When Saving Frames in CapCut
Saving a single frame in CapCut is usually straightforward, but users may occasionally encounter issues that affect image quality or accuracy. Most problems are related to video resolution, frame selection, playback timing, or device limitations. Identifying the cause makes it easier to capture a clear, high quality still image.
😕 Blurry Images
A blurry frame is one of the most common issues when extracting an image from a video. This usually happens when the video contains fast movement or when the selected frame is captured during motion.
To reduce blur, pause the video on a frame where the subject is still or moving slowly. Using a high resolution source video also helps produce a sharper image.
⚠️ Low Resolution
If the saved frame looks pixelated or lacks detail, the original video resolution may be too low. Since a still frame cannot contain more detail than the source video, low quality footage results in lower quality images.
For the best results, capture frames from videos recorded in 1080p, 2K, or 4K whenever possible.
📷 Wrong Frame Captured
Sometimes users save a frame only to realize it isn’t the exact moment they intended to capture. This often occurs when moving through the timeline too quickly or selecting the frame before playback has completely paused.
Zooming in on the timeline and advancing frame by frame helps improve accuracy and ensures you capture the intended image.
🔄 Export Quality Issues
Although you’re saving a still image rather than exporting a complete video, preview quality can still influence the final result. A small preview window, compressed project files, or reduced playback quality may make it difficult to judge image sharpness.
Maximize the preview window when possible and work with the original video instead of compressed copies to preserve image quality.
📊 Common Problems and Their Solutions
The table below summarizes the most frequent issues users face when saving frames in CapCut and practical ways to resolve them.
| Problem | Possible Cause | Solution |
|---|---|---|
| Blurry image | Motion blur or fast moving scene | Pause on a sharper frame with minimal movement. |
| Low resolution frame | Low quality source video | Use a video recorded in 1080p or higher. |
| Wrong frame selected | Inaccurate timeline positioning | Zoom in on the timeline and move frame by frame. |
| Image looks pixelated | Compressed or low quality video | Capture the frame from the original, highest quality video. |
| Preview appears unclear | Small preview window or reduced playback quality | Enlarge the preview window and review the frame before saving. |
💡 Tips for Capturing the Perfect Frame
Capturing the perfect frame in CapCut requires careful timing, a high quality video, and attention to small details. A well chosen frame looks sharper, represents your content more effectively, and works better for thumbnails, social media posts, blog graphics, presentations, and marketing materials.
🎥 Pause at the Sharpest Moment
Select a frame where the subject is clearly visible and in focus. Frames captured during rapid movement may appear blurry, making them less suitable for professional use. If your video contains action scenes, pause at the moment when movement slows or stops to achieve the best clarity.
🔍 Zoom Before Capturing
Zooming in on the CapCut timeline allows you to move through the video more precisely. This makes it easier to locate the exact frame you want instead of settling for a frame that is slightly too early or too late. Greater timeline precision helps produce more accurate and visually appealing results.
🌟 Use High Resolution Source Videos
The quality of your saved frame depends largely on the quality of the original video. Videos recorded in 1080p, 2K, or 4K contain more detail, resulting in sharper still images. Starting with high resolution footage also provides more flexibility if you plan to crop or edit the image later.
🖼️ Avoid Motion Blur
Motion blur is one of the biggest reasons a saved frame looks unprofessional. Pause the video on a frame where the camera and subject are relatively stable. Good lighting and proper camera focus also help preserve fine details and natural colors.
📊 Best Practices for Capturing the Perfect Frame
The table below summarizes the most effective techniques for capturing a high quality still frame in CapCut.
| Best Practice | Why It Matters |
|---|---|
| Pause on a sharp frame | Produces a clear and detailed image. |
| Zoom in on the timeline | Improves frame selection accuracy. |
| Use high resolution footage | Preserves image quality and fine details. |
| Avoid motion blur | Creates cleaner and more professional looking images. |
| Check lighting and focus | Enhances color, contrast, and overall clarity. |
| Review the captured frame | Ensures you’ve selected the correct image before using it. |
🏁 Final Thoughts
Saving a single frame from a video in CapCut is an easy way to create high quality images for thumbnails, social media, blogs, and presentations. By selecting a sharp frame from a high resolution video and positioning the timeline accurately, you can capture clear, professional looking still images for any project.
❓ Frequently Asked Questions About Saving Frames in CapCut
Many users have questions about saving a single frame from a video in CapCut, especially regarding image quality, supported devices, and available features. The answers below address some of the most common concerns.
📷 Can I Save a Frame as a PNG?
Yes, you can convert a captured frame to PNG using an image editor if needed.
📱 Can I Save a Frame on iPhone?
Yes, you can save a frame on an iPhone by pausing the video and capturing the desired image.
🤖 Does CapCut Have a Frame Export Tool?
No, CapCut does not currently offer a universal one click frame export feature.
💻 Can I Save Frames on CapCut Desktop?
Yes, CapCut Desktop lets you accurately select and capture individual video frames.
🎞️ Is a Screenshot Better Than Exporting a Frame?
A properly captured frame usually provides a cleaner result than a standard screenshot.
📸 How Can I Capture the Highest Quality Frame?
Use a high resolution video and capture a sharp frame with minimal motion blur.
🖼️ Can I Use Saved Frames as YouTube Thumbnails?
Yes, saved frames make excellent YouTube thumbnails when they are clear and relevant.
⚡ Why Is My Saved Frame Blurry?
Blurry frames are typically caused by motion blur, low resolution videos, or incorrect frame selection.