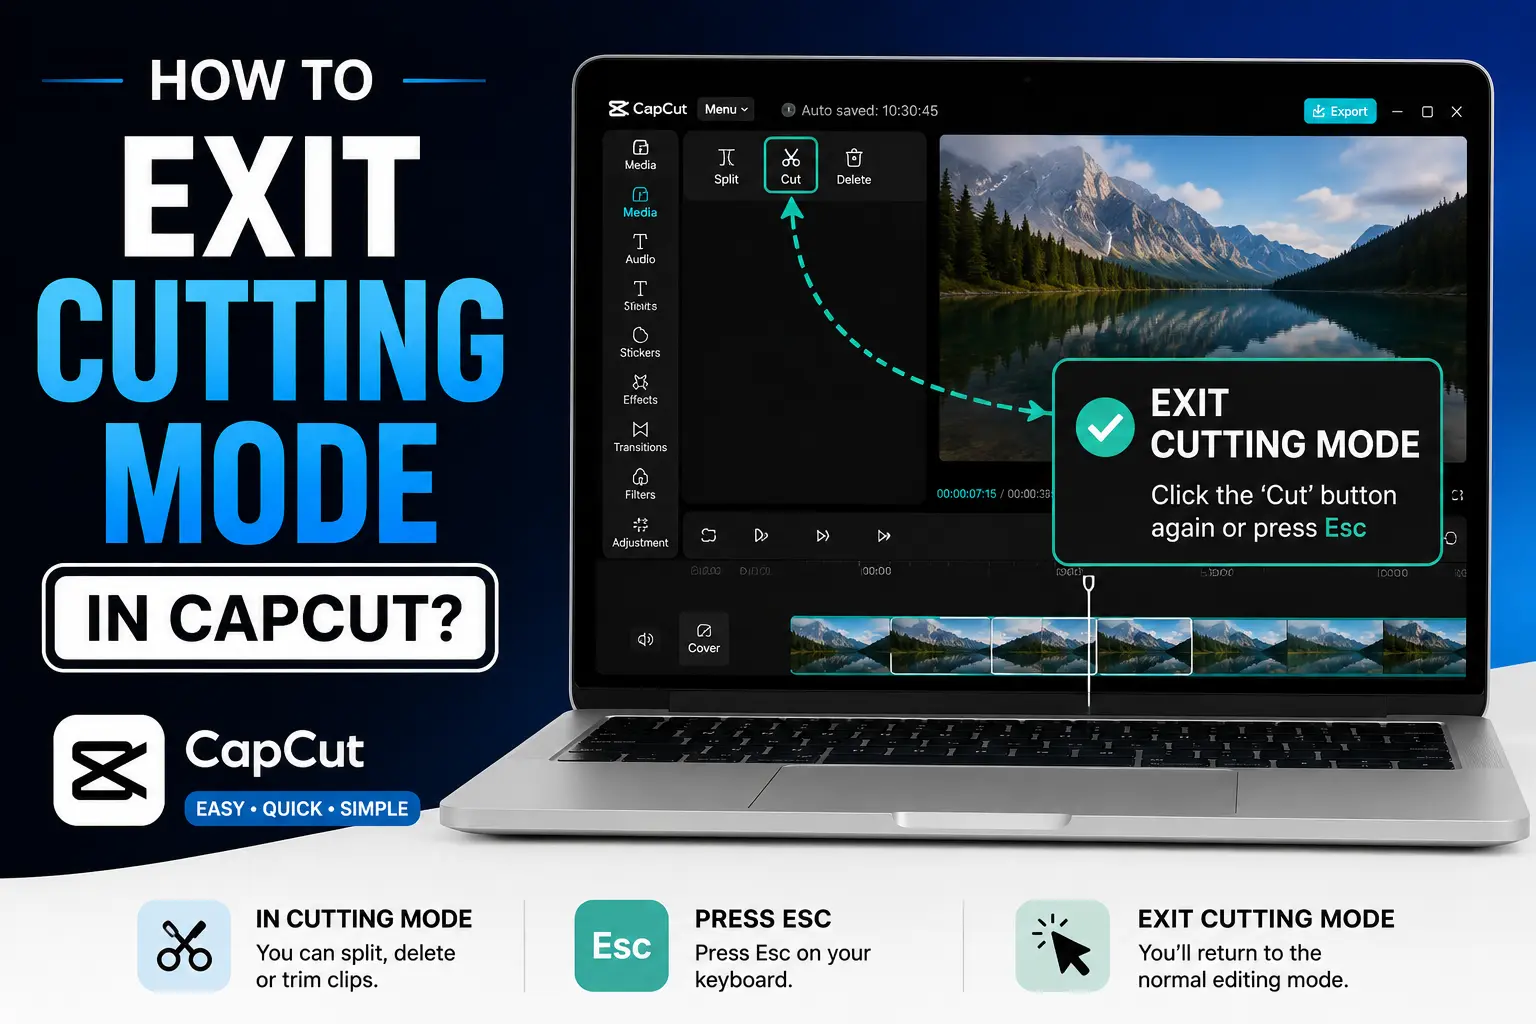
To exit cutting mode in CapCut, tap “Done” or tap anywhere outside the selected clip on mobile. On desktop, press the V key or click the arrow tool in the toolbar to switch off the Blade tool. The exact step depends on your device.
CapCut refers to this feature as Split mode, Cut mode, or Blade mode, but all three names point to the same tool. Once you know where the control sits on your platform, turning it off takes only a few seconds.
🎬 What Is Cutting Mode in CapCut?
Cutting mode in CapCut App is the tool that slices a video clip into two separate segments at a chosen point on the timeline. CapCut users also call it Split mode or Blade mode, depending on whether they’re on mobile or desktop.
How Cutting Mode Works on Mobile?
On mobile, cutting mode appears as the Split button in the bottom toolbar. It activates only when tapped and switches off right after the cut is made. Because of this, mobile users rarely stay stuck in the mode.
How Cutting Mode Works on Desktop?
On desktop, the Blade tool behaves differently. Once selected, it stays active across multiple clicks. Every click on the timeline creates a new split until you manually switch back to the Arrow (Select) tool. This is the main reason desktop users end up cutting clips by accident.
Common Ways Cutting Mode Gets Triggered
- Tapping the Split icon on mobile
- Pressing Ctrl+B (Windows) or Cmd+B (Mac) on desktop
- Clicking the Blade tool icon in the desktop toolbar
Knowing which mode is active, and on which platform, makes it easier to exit correctly and avoid unwanted cuts to your footage.
📱 How to Exit Cutting Mode on CapCut Mobile (iOS & Android)?
On mobile, CapCut’s Split tool activates only when tapped, so it rarely traps users the way desktop Blade mode does. Exiting it is usually a single tap away.
Step by Step: Exiting Split Mode on Mobile
- Tap “Done” in the top right corner of the screen after making your cut.
- Tap anywhere outside the clip on the timeline to deselect it.
- Tap the Split icon again if it appears highlighted — this toggles it off.
Once deselected, the app returns to standard editing view, and you can move, trim, or apply effects without triggering another cut.
What to Do If the App Feels Stuck in Cut Mode?
If tapping “Done” or tapping outside the clip doesn’t work, the issue is usually a glitch rather than an active mode. Try these fixes in order:
- Close and reopen the project to refresh the timeline.
- Restart the CapCut app completely (not just minimize it).
- Update CapCut to the latest version from the App Store or Google Play, since older versions sometimes have UI bugs affecting tool selection.
These steps resolve most cases where the Split button appears active but won’t respond to taps.
💻 How to Exit Cutting Mode on CapCut Desktop (PC/Mac)
On desktop, the Blade tool stays active until you manually turn it off. This is the main reason editors on PC or Mac keep splitting clips by accident while working on the timeline.
Keyboard Shortcut to Exit Blade Mode (Press V)
- Press V on your keyboard. This switches CapCut back to the standard Arrow (Select) tool.
- Confirm the switch by checking the toolbar icon — the arrow should now appear highlighted instead of the blade icon.
- Click on the timeline to test. The cursor should select clips instead of cutting them.
Exiting via the Toolbar
- Locate the toolbar above the timeline.
- Click the Arrow (Select) icon, usually positioned to the left of the Blade icon.
- The Blade tool deactivates immediately, and normal clip selection resumes.
Both methods work equally well. The keyboard shortcut is faster for editors working through a long timeline, while the toolbar click is useful if you prefer using the mouse.
❓ Why Does CapCut Keep Cutting My Video Automatically?
CapCut keeps cutting a video when the Blade tool remains active on the desktop timeline. Since this tool doesn’t switch off after one use, every click on a clip creates a new split until it’s manually deactivated.
Main Causes of Repeated Splitting
- Blade tool left on: Pressing Ctrl+B (Windows) or Cmd+B (Mac) turns on Blade mode, and it stays on across multiple clicks.
- Muscle memory clicking: Editors used to other software often click the timeline out of habit, triggering unintended cuts.
- Small screen precision on mobile: On phones, buttons sit close together, so tapping near the Split icon can trigger it by mistake.
- Outdated app version: Older CapCut versions occasionally have interface bugs that keep a tool highlighted as active even after use.
How to Stop Accidental Splitting?
- Press V immediately after finishing a cut on desktop to return to the Arrow tool.
- Zoom into the timeline before splitting, since this improves click precision and reduces accidental cuts.
- Avoid clicking directly on the timeline unless you intend to make a split.
- Update the app to the latest version to fix known interface glitches.
Once the Blade tool is switched off using these steps, the timeline responds to normal clicks without cutting the footage.
↩️ How to Undo an Accidental Split in CapCut?
Undoing an accidental split in CapCut takes seconds once you know the shortcut for your device. The method differs slightly between mobile and desktop, but both restore the clip to its original state.
Undo Methods by Platform
The table below shows the quickest way to reverse an accidental cut, whether editing on a phone or a computer.
| Platform | Undo Method |
|---|---|
| Mobile (iOS/Android) | Tap the undo arrow (←) in the top left corner |
| Desktop (Windows) | Press Ctrl+Z |
| Desktop (Mac) | Press Cmd+Z |
Removing an Existing Split Without Undo
If time has passed since the split and undo no longer covers it, remove the cut point manually instead.
- On desktop: Click the white split marker between the two segments on the timeline, then press Delete. This merges the clip back together without losing footage.
- On mobile: Drag the trim handles on the split segments until the gap closes, or reapply undo if the split is still recent.
CapCut supports multiple levels of undo on both platforms, so several accidental splits in a row can be reversed one at a time without restarting the project.
🛠️ Troubleshooting: Cutting Mode Won’t Turn Off
Sometimes pressing V, tapping “Done,” or switching tools doesn’t deactivate cutting mode. This usually points to a software glitch, a locked clip, or a corrupted project file rather than a setting issue.
Check for Locked or Linked Clips
A clip that’s locked or linked to other elements, such as an overlay or audio track, can prevent CapCut from registering tool changes correctly.
- Unlock all tracks in the timeline panel.
- Unlink video and audio if they’re connected.
- Try switching tools again using V or the toolbar arrow.
Restarting the App or Clearing Cache
If locked clips aren’t the issue, a temporary glitch in the app is the next likely cause.
- Close CapCut completely rather than minimizing it, then reopen the project.
- Clear the app cache on Android by going to device Settings > Apps > CapCut > Storage > Clear Cache.
- Restart the device after clearing cache to fully reset temporary files.
Reinstalling CapCut as a Last Resort
If the problem continues after restarting and clearing cache, reinstalling the app removes any corrupted files causing the issue.
- Uninstall CapCut from the device.
- Reinstall it from the App Store, Google Play Store, or the official CapCut website for desktop.
- Log back in to the account to reload existing projects.
This process resolves most persistent cases where cutting mode stays active regardless of which tool is selected.
✅ Tips to Avoid Getting Stuck in Cut Mode Again
A few simple habits prevent most accidental splits and reduce the chances of cutting mode staying active longer than needed.
Habits That Prevent Accidental Cuts
- Switch back to the Arrow tool immediately after making a split on desktop, instead of leaving the Blade tool active.
- Zoom into the timeline before cutting, since this improves precision and lowers the risk of misplaced or repeated splits.
- Turn off auto snapping if it’s causing the playhead to jump to unintended points on the timeline before a cut.
- Update CapCut regularly to avoid interface bugs that affect tool switching.
Quick Reference for Exiting Cutting Mode
Keeping the exit method for each platform in mind speeds up the workflow and avoids repeated troubleshooting.
- Mobile: Tap “Done” or tap outside the clip.
- Desktop: Press V or click the Arrow tool in the toolbar.
Building these habits into a regular editing routine keeps the timeline responsive and prevents unwanted cuts from interrupting the editing process.
Conclusion
Exiting cutting mode in CapCut comes down to one platform specific action: tapping “Done” on mobile or pressing V on desktop. Most cases where the tool seems stuck trace back to an active Blade tool, a locked clip, or a minor app glitch, and each has a direct fix.
Building the habit of switching back to the Arrow tool right after a split, combined with keeping the app updated, keeps the timeline responsive and prevents unwanted cuts during future edits.
❓ Frequently Asked Questions About Exiting Cutting Mode in CapCut
These quick answers cover the most common questions users search when trying to exit or fix cutting mode in CapCut.
Why is my CapCut stuck in split mode?
This usually happens on desktop when the Blade tool stays active after a cut. Press V to switch back to the Arrow tool.
How do I exit blade mode on CapCut PC?
Press V on the keyboard, or click the Arrow (Select) icon in the toolbar above the timeline.
Does exiting cut mode delete my splits?
No. Exiting cutting mode only switches tools; it doesn’t remove or merge any cuts already made.
Is cutting mode different on CapCut mobile vs desktop?
Yes. Mobile’s Split tool deactivates after each tap, while desktop’s Blade tool stays active until manually switched off.
Why does CapCut keep splitting my video by accident?
This happens when the Blade tool remains selected on desktop, causing every timeline click to create a new split.
How do I undo an accidental split in CapCut?
Press Ctrl+Z (Windows) or Cmd+Z (Mac) on desktop, or tap the undo arrow in the top left corner on mobile.